I decided to continue with the penguins for the two colour masked monoprints and made two series of prints. The first was with blue and green tones, the second with orange and yellow tones. In the second series, I used lighter paper instead of my expensive heavyweight drawing paper, but I was very dissatisfied with the quality, because the paper buckled so much.
I also became frustrated cutting out stencils, because it takes quite a bit of time until a complex form like the penguins is cut out, and then they can be used only once or twice. I experimented with heavy smooth drawing paper which made the stencil more durable but was also more difficult to cut out.
Blue and green series
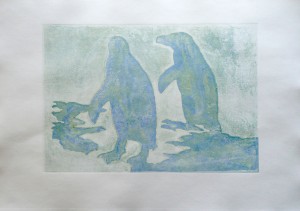
I started the series with dark blue as first colour and light blue as second colour, which I mixed by adding some white. But in the ghost print, these two colours were indistinguishable, so I mixed in some yellow into the second colour and continued with blue and green as my two colours.


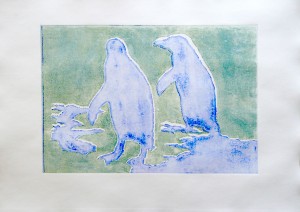
The full plate print from the blue background series looked very dull, so I overpainted the plate and took another impression. But I find the result unconvincing. The brushstrokes of the background do not go well with the pale blue of the penguins. By contrast, the full plate print from the green background series looked much better and it was simply taking from the unaltered inking plate.

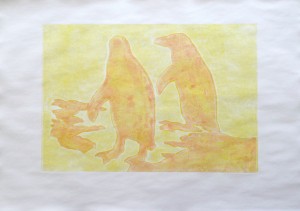
Yellow and orange series
For this series, I chose inexpensive standard white paper, A3 format, ca. 80gms. I started with the negative mask on a yellow inked plate, and dry paper. The ink did not transfer well, so I decided to dampen the paper for the next prints. This improved the ink transfer, but resulted in buckled paper.

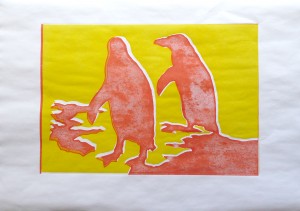
I also made ghost prints and full plate prints, but I don’t remember the exact work sequences for these prints. Some colour mixing happened because I did not clean the masks before reusing them, and the pigments mixed into the fresh ink on the plate.


Reflections on the process
My mask was a bit too complex and I had difficulties with the alignment. I wasn’t able to register mask and paper by following the course instructions, and therefore chose a different method: I used a sheet of paper in the size of my printing paper, and drew placement lines for the inked plate on it. Then I aligned the printing paper with the registration paper. This wasn’t really accurate, but worked moderately well for the purpose.